| Version 10 (modified by , 22 months ago) ( diff ) |
|---|
Site Navigation
- COSMOS Testbed Overview
- Getting Started
- COSMOS/ORBIT User Guide
- COSMOS Portal
- Account Management
- Portal Dashboard
- Directory
- Disk Images
- Community Forum
- Getting Started with the COSMOS Portal
- SSH Access to Testbed Nodes
- Scheduler
- Testbed Status
- Installing Chrome Remote Desktop (CRD) on a Custom Image
- Tutorials
- Architecture
- Resources, Services and APIs
- Datasets
- Hardware Info
- RF Policies & Compliance
Savannah: Efficient mmWave Baseband Processing with Minimal and Heterogeneous Resources
Description
In this tutorial, we demonstrate Savannah, a framework for efficient mmWave baseband processing with minimal and heterogeneous resources.
- The instructions for Savannah software can be found here under RENEW license.
- The COSMOS team contributes to:
- Adding the UHD support for the Agora software under the UHD license;
- Updating DSP pipeline (Equalization; Demodulation);
- Integrating ACC100 BBDEV acceleration for Decoding.
We thank the RENEW team for their support and help throughout the process.
The following papers describes the integration of the IBM 28 GHz PAAMs with Savannah in the COSMOS testbed. We would appreciate it if you cite this paper when publishing results obtained using the PAAMs deployed in COSMOS.
- Z. Qi, Z. Gao, C. Tung, and T. Chen, "Programmable Millimeter-Wave MIMO Radios with Real-Time Baseband Processing". in Proc. ACM Mobi Com'23 Workshop on Wireless Network Testbeds, Experimental evaluation & Characterization (WiNTECH '23), 2023
- Z. Qi*, C. Tung*, A. Kalia, and T. Chen, "Savannah: Efficient mmWave Baseband Processing with Minimal and Heterogeneous Resources". in Proc. 30th Annual International Conference on Mobile Computing and Networking (Mobi Com'24), 2024
Authors:
Zhenzhou (Tom) Qi, Duke University <zhenzhou.qi[at]duke[dot]edu>
Chung-Hsuan Tung, Duke University <chunghsuan.tung[at]duke[dot]edu>
Zhihui Gao, Duke University <zhihui.gao[at]duke[dot]edu>
Tingjun Chen, Duke University <tingjun.chen[at]duke[dot]edu>
Last updated: Sep. 11, 2024
Prerequisites
In order to access COSMOS-SB2, create a reservation in COSMOS testbed and have it approved by the reservation service. Access to the resources is granted after the reservation is confirmed. Please follow the process shown on the COSMOS getting started page to get started.
Resources Required
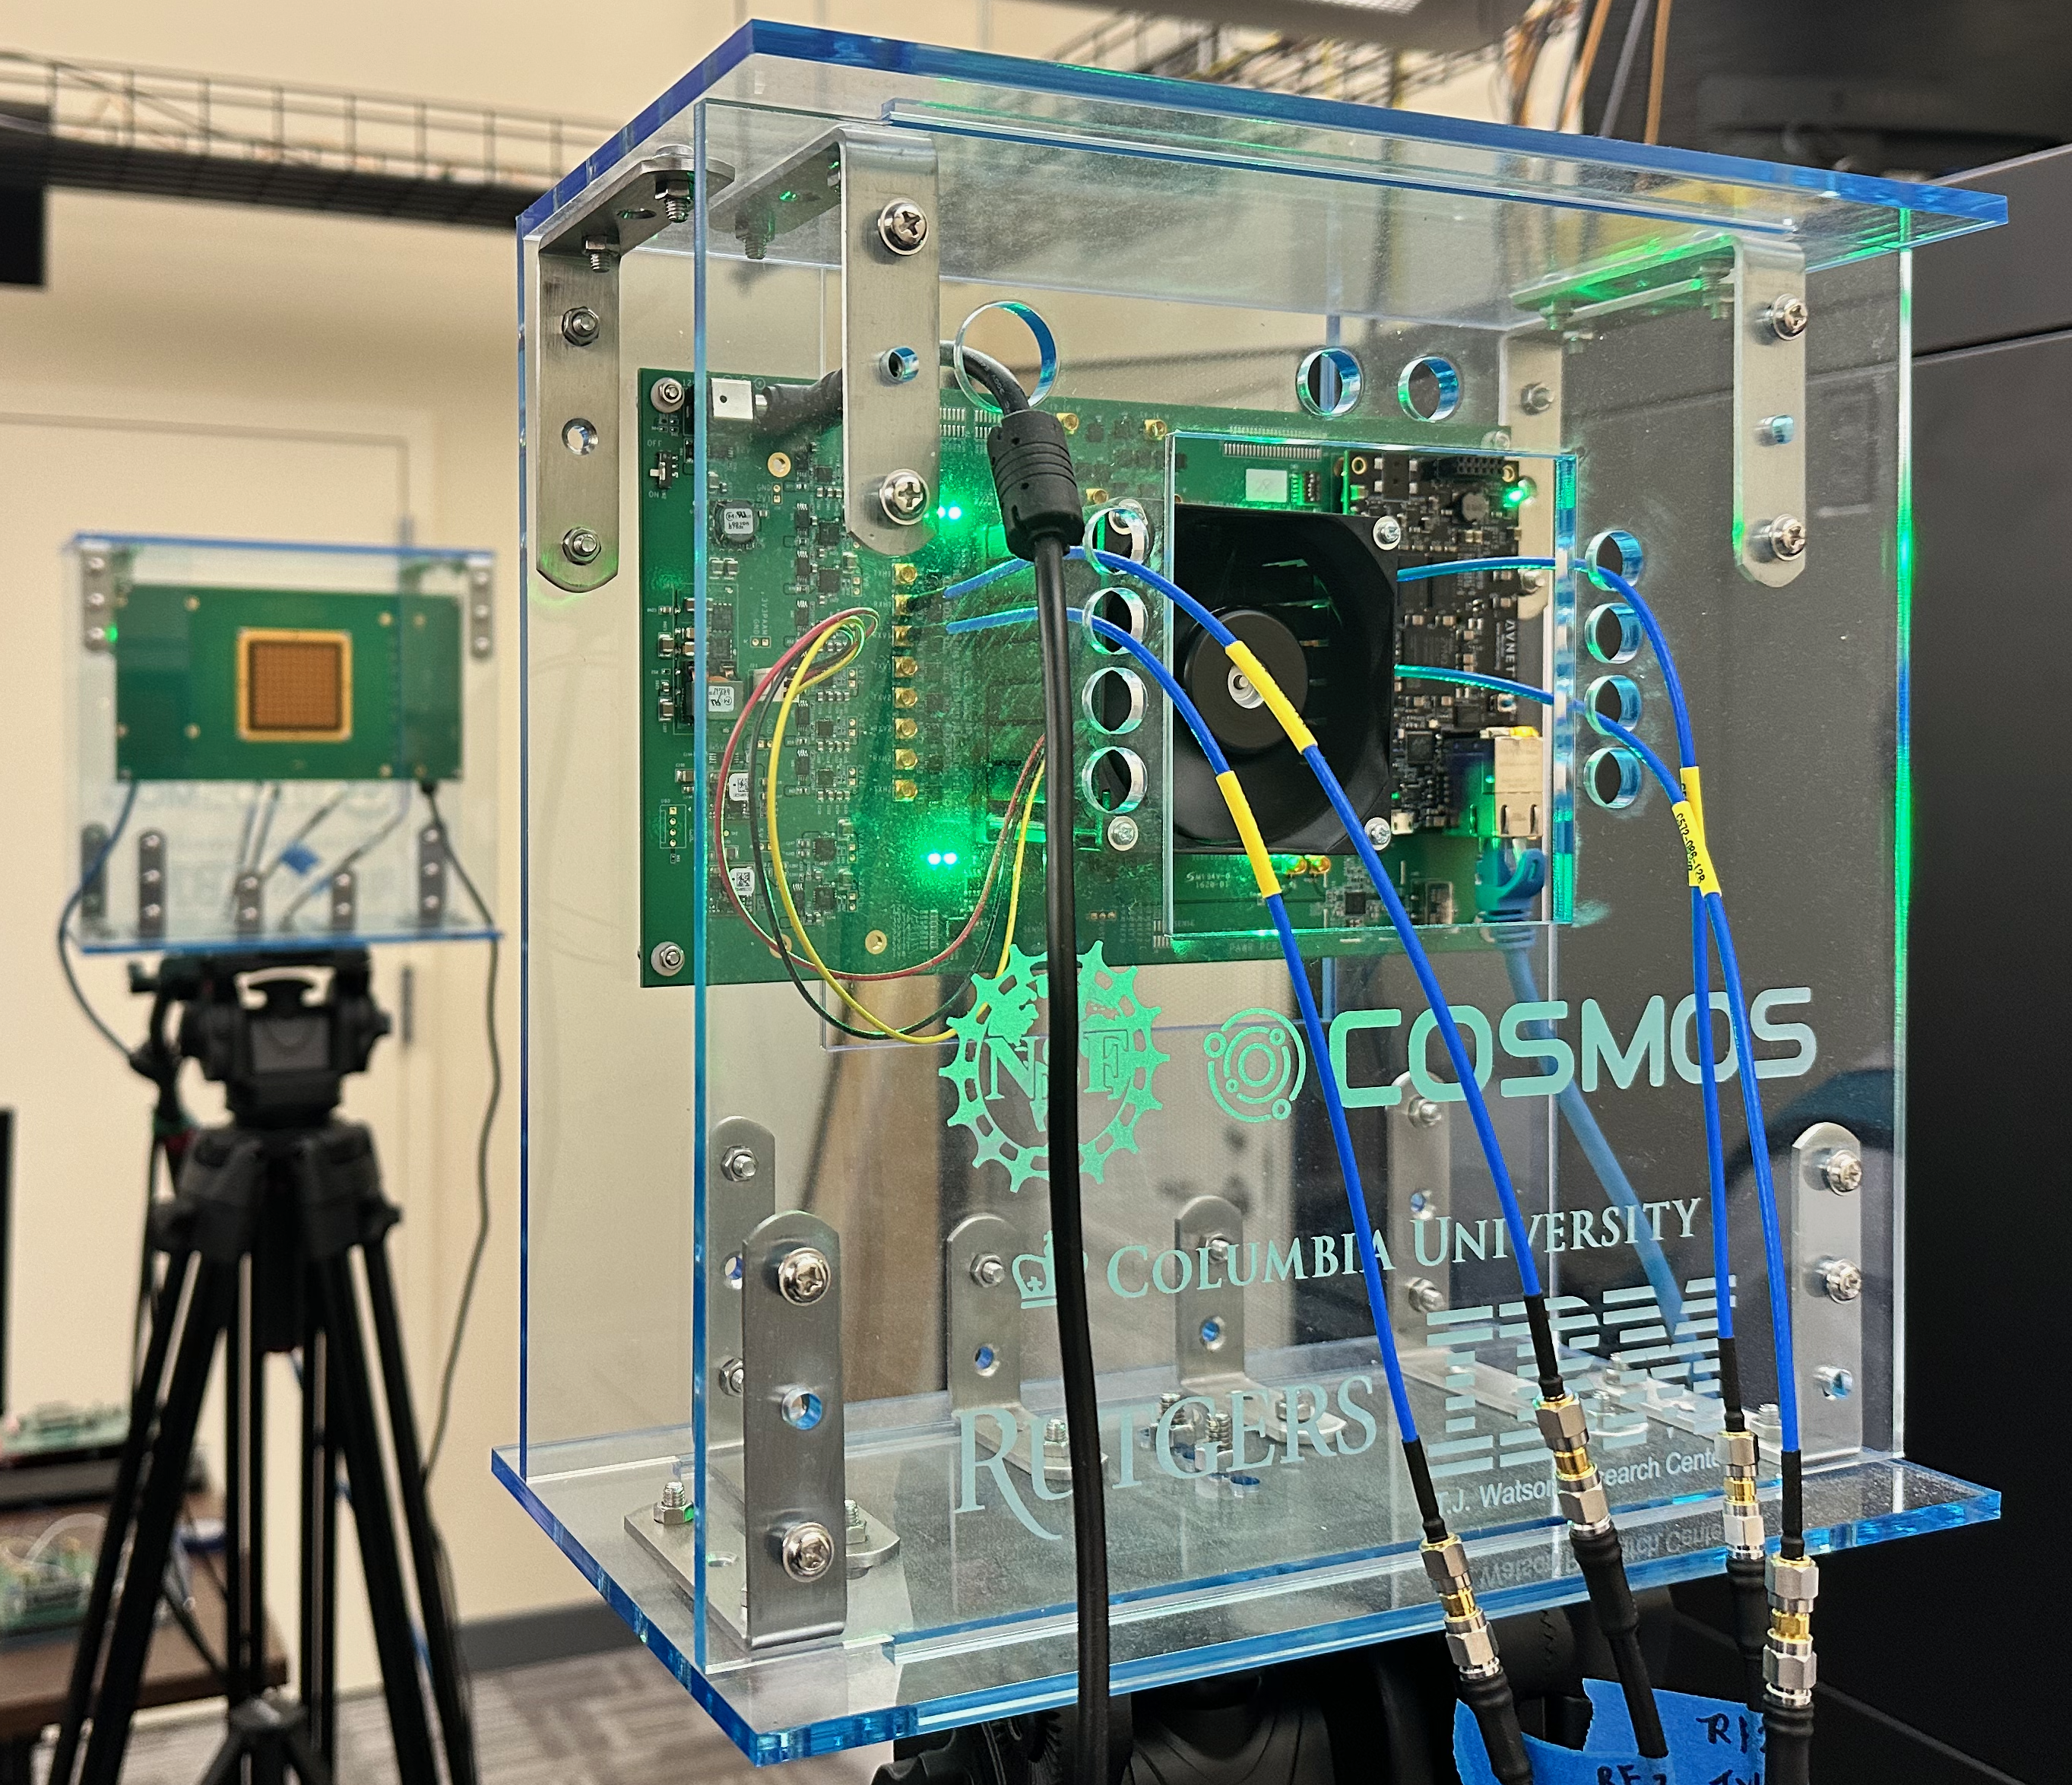
- 2 USRP N310 SDRs (
sdr1-s1-lg1andsdr1-md1in SB2) - 2 IBM 28GHz PAAMs (
rfdev2-1andrfdev2-2in SB2 ) - 1 Server (
srv1-lg1)
The current hardware connection in SB2 as shown below
sdr1-s1-lg1RF2 TX/RX —rfdev2-1IC0/TX/H,sdr1-s1-lg1RF2 RX2 —rfdev2-1IC1/RX/Hsdr1-s1-lg1RF3 TX/RX —rfdev2-1IC0/TX/V,sdr1-s1-lg1RF3 RX2 —rfdev2-1IC1/RX/Vsdr1-md1RF2 TX/RX —rfdev2-2IC0/TX/H,sdr1-md1RF2 RX2 —rfdev2-2IC1/RX/Hsdr1-md1RF3 TX/RX —rfdev2-2IC0/TX/V,sdr1-md1RF2 RX2 —rfdev2-2IC1/RX/V

|
The required software components used in this demo are already loaded to the <To_be_updated>.ndz node image, the node image includes:
- Ubuntu 20.04, UHD 4.1.0
- PAAM Control to initialize the PAAM boards to integrate with USRPs.
- PAAM CFO calibration.
- Savannah: a framework for efficient mmWave baseband processing with minimal and heterogeneous resources. Please refer to
mainbranch at here for more information.
Tutorial Setup
Follow the steps below to gain access to the sandbox console and set up nodes with appropriate images.
- If you don't have one already, sign up for a COSMOS account
- Create a resource reservation on COSMOS SB2
- Login into sandbox console
console.sb2.cosmos-lab.org) with four SSH sessions. - In terminal 1, make sure all the nodes and devices used in the experiment are turned off. Use the following command for SB2
omf tell -a offh -t sdr1-s1-lg1,sdr1-md1,rfdev2-1,rfdev2-2,srv1-lg1
- Load
To_be_updatedon the server.omf load -i To_be_updated -t srv1-lg1 -r 0 - Turn all the required resources on and check the status of all the resources. Use the following commands for SB2.
omf tell -a on -t sdr1-s1-lg1,sdr1-md1,rfdev2-1,rfdev2-2,srv1-lg1
omf stat -t all
sshto the server with option -Y for using GUI for our live demo.ssh -Y root@srv1-lg1
- In all the ssh sessions for
srv1-lg1, use the following to source the correct environment.source /opt/intel/oneapi/setvars.sh --force --config="/opt/intel/oneapi/renew-config.txt"
Find and prepare USRPs
- Upon logging into the server, set up the 10G data interfaces DATA1, DATA2 in terminal 1.
ifconfig DATA1 10.117.1.1 netmask 255.255.0.0 mtu 9000 up
ifconfig DATA2 10.118.1.1 netmask 255.255.0.0 mtu 9000 up
sudo sysctl -w net.core.rmem_max=536870912
sudo sysctl -w net.core.wmem_max=536870912
After running the above commands, you should see that the data interfaces have the appropriate IP addresses assigned.
root@srv1-lg1:~# ifconfig DATA1
DATA1: flags=4163<UP,BROADCAST,RUNNING,MULTICAST>  mtu 1500
        inet6 fe80::1e34:daff:fe42:d4c  prefixlen 64  scopeid 0x20<link>
        ether 1c:34:da:42:0d:4c  txqueuelen 1000  (Ethernet)
        RX packets 21092  bytes 1881634 (1.8 MB)
        RX errors 0  dropped 19183  overruns 0  frame 0
        TX packets 686  bytes 204975 (204.9 KB)
        TX errors 0  dropped 0 overruns 0  carrier 0  collisions 0
root@srv1-lg1:~# ifconfig DATA2
DATA2: flags=4163<UP,BROADCAST,RUNNING,MULTICAST>  mtu 1500
        inet6 fe80::1e34:daff:fe42:d4d  prefixlen 64  scopeid 0x20<link>
        ether 1c:34:da:42:0d:4d  txqueuelen 1000  (Ethernet)
        RX packets 21091  bytes 1881530 (1.8 MB)
        RX errors 0  dropped 19184  overruns 0  frame 0
        TX packets 690  bytes 226549 (226.5 KB)
        TX errors 0  dropped 0 overruns 0  carrier 0  collisions 0
- Run
uhd_find_devicesto make sure that both USRP N310s can be reached:[INFO] [UHD] linux; GNU C++ version 9.4.0; Boost_107100; UHD_4.1.0.HEAD-0-g25d617ca -------------------------------------------------- -- UHD Device 3 -------------------------------------------------- Device Address: serial: 315A35A addr: 10.117.2.1 claimed: False fpga: XG mgmt_addr: 10.116.2.1 mgmt_addr: 10.117.2.1 product: n310 type: n3xx -------------------------------------------------- -- UHD Device 4 -------------------------------------------------- Device Address: serial: 3176DF7 addr: 10.118.3.1 claimed: False fpga: XG mgmt_addr: 10.116.3.1 mgmt_addr: 10.118.3.1 product: n310 type: n3xx
Configure IBM 28GHz PAAM
COSMOS uses the IBM 28GHz PAAM API to configure and initialize the PAAM boards. Under the console in terminal 2, please run the following 4 commands:
<user_name>@console:~$ curl "http://am1.orbit-lab.org:5054/array_mgmt/configure?dev_name=rfdev2-1.sb2.cosmos-lab.org&ics=0&num_elements=16&txrx=tx&pol=h&theta=0&phi=0"
<user_name>@console:~$ curl "http://am1.orbit-lab.org:5054/array_mgmt/configure?dev_name=rfdev2-1.sb2.cosmos-lab.org&ics=0&num_elements=16&txrx=tx&pol=v&theta=0&phi=0"
<user_name>@console:~$ curl "http://am1.orbit-lab.org:5054/array_mgmt/configure?dev_name=rfdev2-2.sb2.cosmos-lab.org&ics=1&num_elements=16&txrx=rx&pol=h&theta=0&phi=0"
<user_name>@console:~$ curl "http://am1.orbit-lab.org:5054/array_mgmt/configure?dev_name=rfdev2-2.sb2.cosmos-lab.org&ics=1&num_elements=16&txrx=rx&pol=v&theta=0&phi=0"
An example message will print out to after each command to indicate that the PAAM board is being successfully configured:
<?xml version="1.0" encoding="UTF-8"?>
<response status="OK">
  <action service="array_mgmt" name="configure" ipaddr="10.116.5.2">
    <step name="open" duration="3.780022"/>
    <step name="initializaition" duration="0.125465"/>
    <step name="enabling" duration="0.022732"/>
    <step name="steering" duration="0.006349" theta="0" phi = "0" ipaddr = "10.116.5.2" />
    <state PAAM_ID="0x23" LO_switch="PLL" if_sw1="0xF" if_sw2="0xF" if_sw3="0xF" if_sw4="0xF" txrx="rx" polarization="v" />
    <adc>
      <conv index="0" name="1v2" tADC="114" tVolt="0.279" tCurr="0.139"/>
      <conv index="1" name="1v5" tADC="214" tVolt="0.523" tCurr="1.046"/>
      <conv index="2" name="1v8" tADC="4" tVolt="0.010" tCurr="0.005"/>
      <conv index="3" name="2v7_0" tADC="13" tVolt="0.032" tCurr="0.064"/>
      <conv index="4" name="2v7_1" tADC="183" tVolt="0.447" tCurr="0.894"/>
      <conv index="5" name="2v7_2" tADC="18" tVolt="0.044" tCurr="0.088"/>
      <conv index="6" name="2v7_3" tADC="40" tVolt="0.098" tCurr="0.196"/>
      <conv index="7" name="3v3_pll" tADC="303" tVolt="0.740" tCurr="0.370"/>
      <conv index="8" name="5v_uzed" tADC="276" tVolt="0.674" tCurr="0.674"/>
      <conv index="9" name="12v" tADC="140" tVolt="0.342" tCurr="1.140"/>
      <conv index="10" name="0V" tADC="0" tVolt="0.000"/>
      <conv index="11" name="1V8" tADC="735" tVolt="1.796"/>
    </adc>
    <step name="status" duration="0.069065"/>
    <step name="close" duration="0.100179"/>
  </action>
</response>
Attachments (3)
- cosmos_paam_202406.png (9.6 MB ) - added by 22 months ago.
- CMake_flags.png (35.0 KB ) - added by 22 months ago.
- Savannah.zip (1.6 MB ) - added by 22 months ago.