| Version 7 (modified by , 3 months ago) ( diff ) |
|---|
Site Navigation
- COSMOS Testbed Overview
- Getting Started
- COSMOS/ORBIT User Guide
- COSMOS Portal
- Account Management
- Portal Dashboard
- Directory
- Disk Images
- Community Forum
- Getting Started with the COSMOS Portal
- SSH Access to Testbed Nodes
- Scheduler
- Testbed Status
- Installing Chrome Remote Desktop (CRD) on a Custom Image
- Tutorials
- Architecture
- Resources, Services and APIs
- Datasets
- Hardware Info
- RF Policies & Compliance
COSMOS Portal
The COSMOS Portal is your gateway to the COSMOS and ORBIT testbeds. It is a modern web application where you manage every aspect of your testbed experience — from creating an account and uploading SSH keys, through reserving time on testbed domains, to monitoring your nodes during experiments and connecting with the research community.

The portal is designed to support the complete experiment lifecycle. When you first arrive, you create an account and set up your SSH keys. When you are ready to run an experiment, you open the Scheduler to reserve a testbed domain for the time you need. During your reservation, the Status pages show you the real-time state of every node in your domain, so you always know which nodes are powered on, which are off, and whether any need attention. Throughout this process, the Community Forum is just a click away — a popup discussion window where you can ask questions, share findings, or get help from other users and testbed staff without leaving the portal.
After your experiment, you can review your disk images to manage the custom images you have saved, and browse the Directory to find collaborators or check organization membership.
The portal runs at https://www.cosmos-lab.org/portal and works on any modern browser, including mobile devices where the sidebar collapses into a responsive menu.
Your First Visit
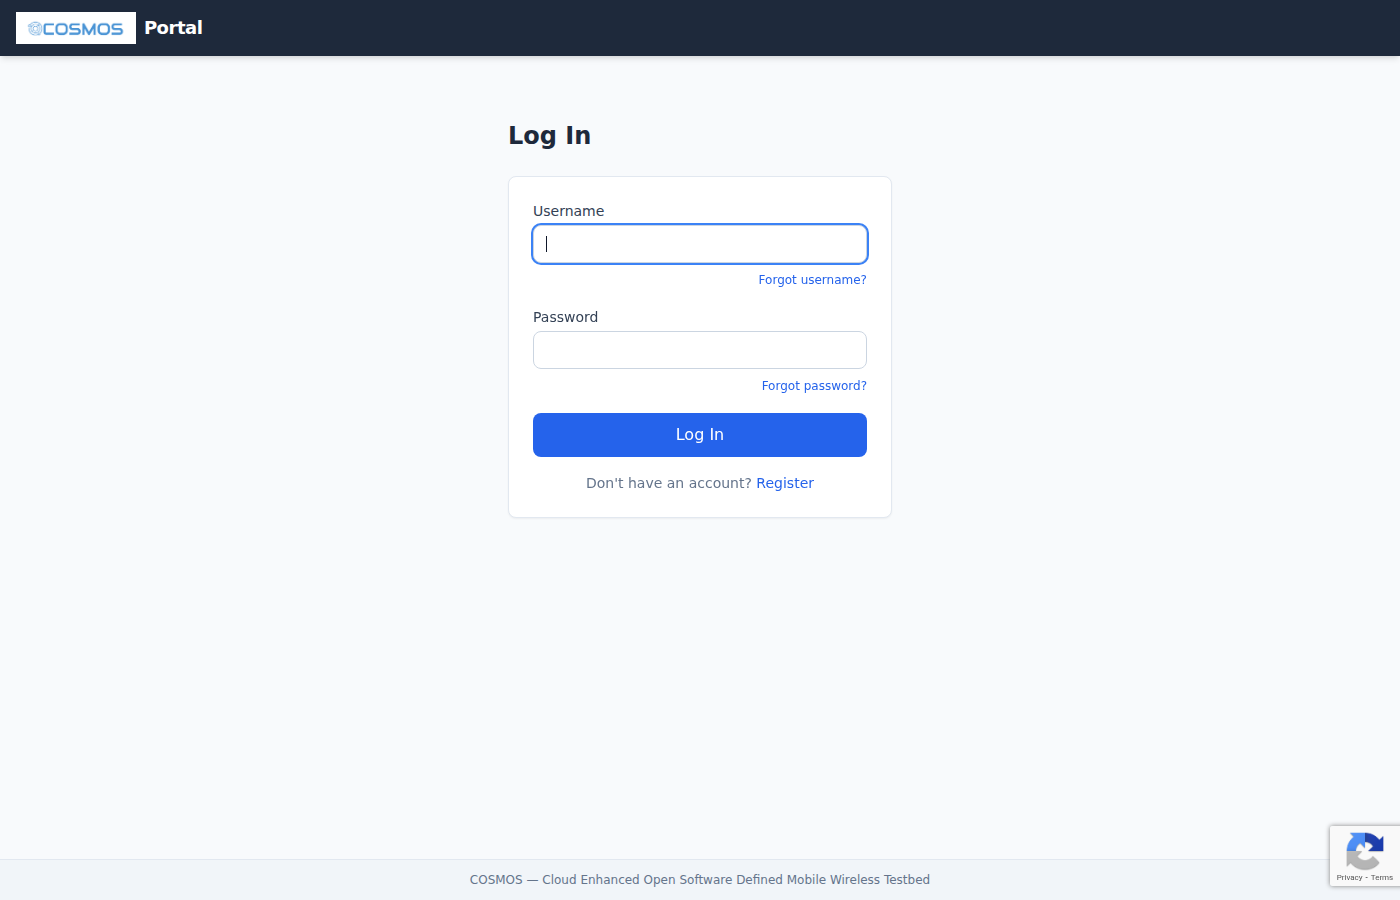
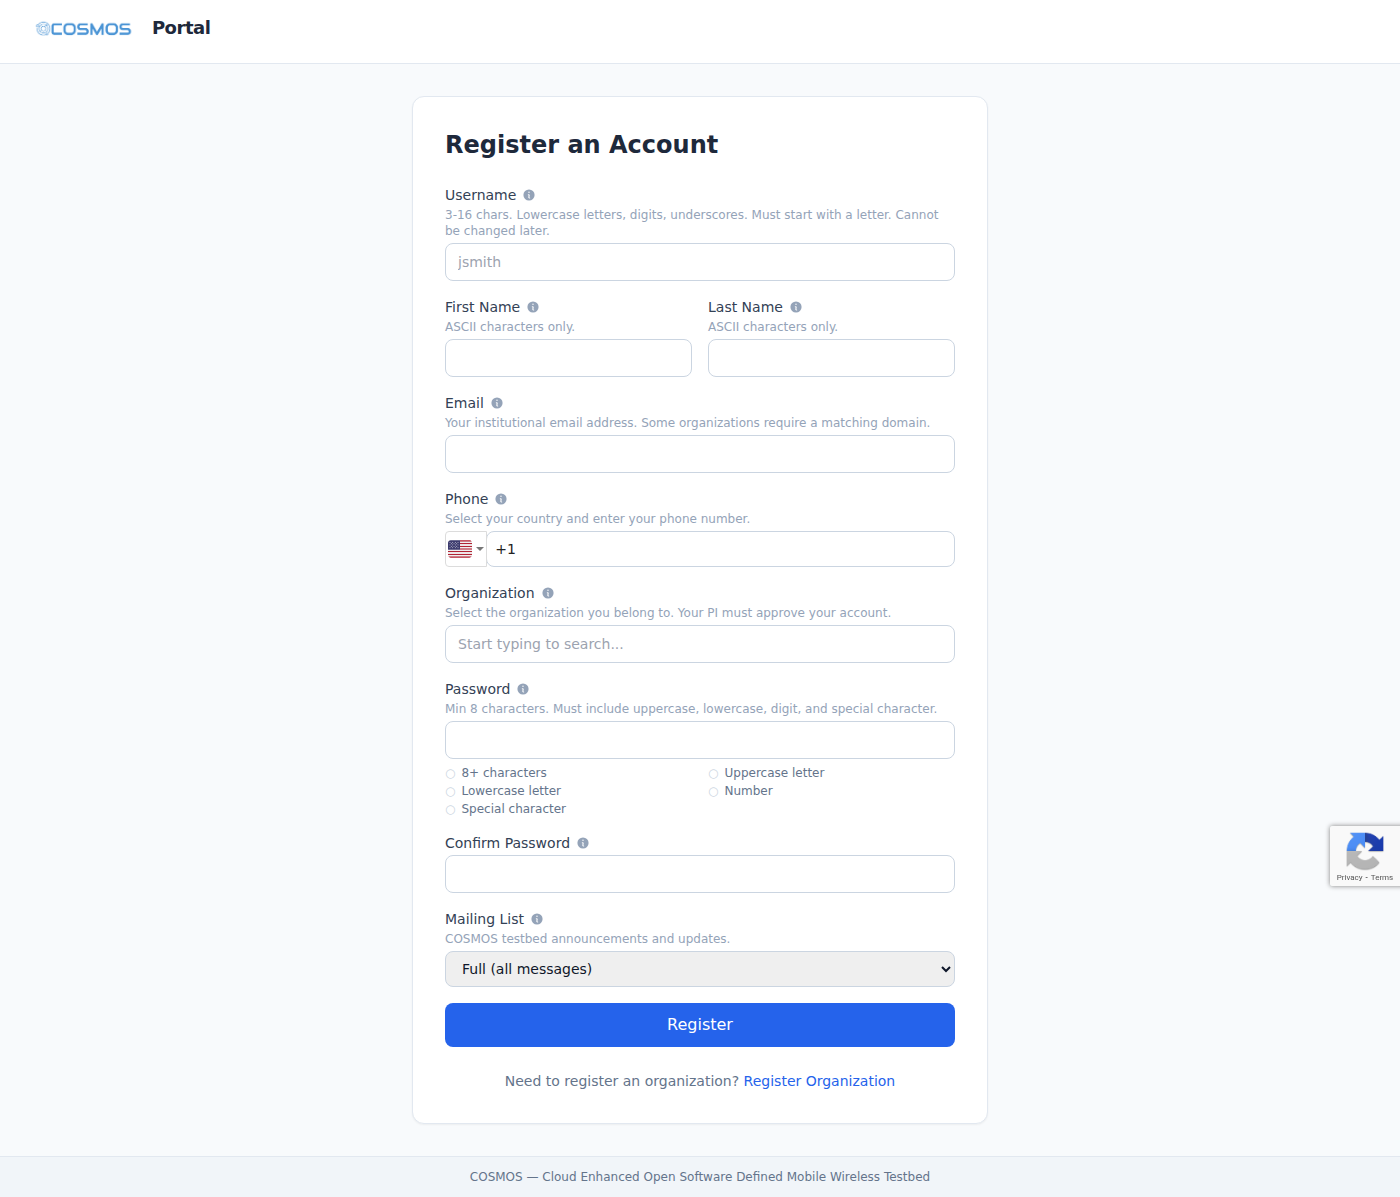
If you are new to COSMOS, the journey starts with account registration. You will choose a username that becomes your identity across the entire testbed — it is what you use to log into console servers via SSH, what appears in reservation records, and what other users see in the directory. After registering, you activate your account via email and wait for your group's PI to approve your request. The whole process typically takes a day or two.
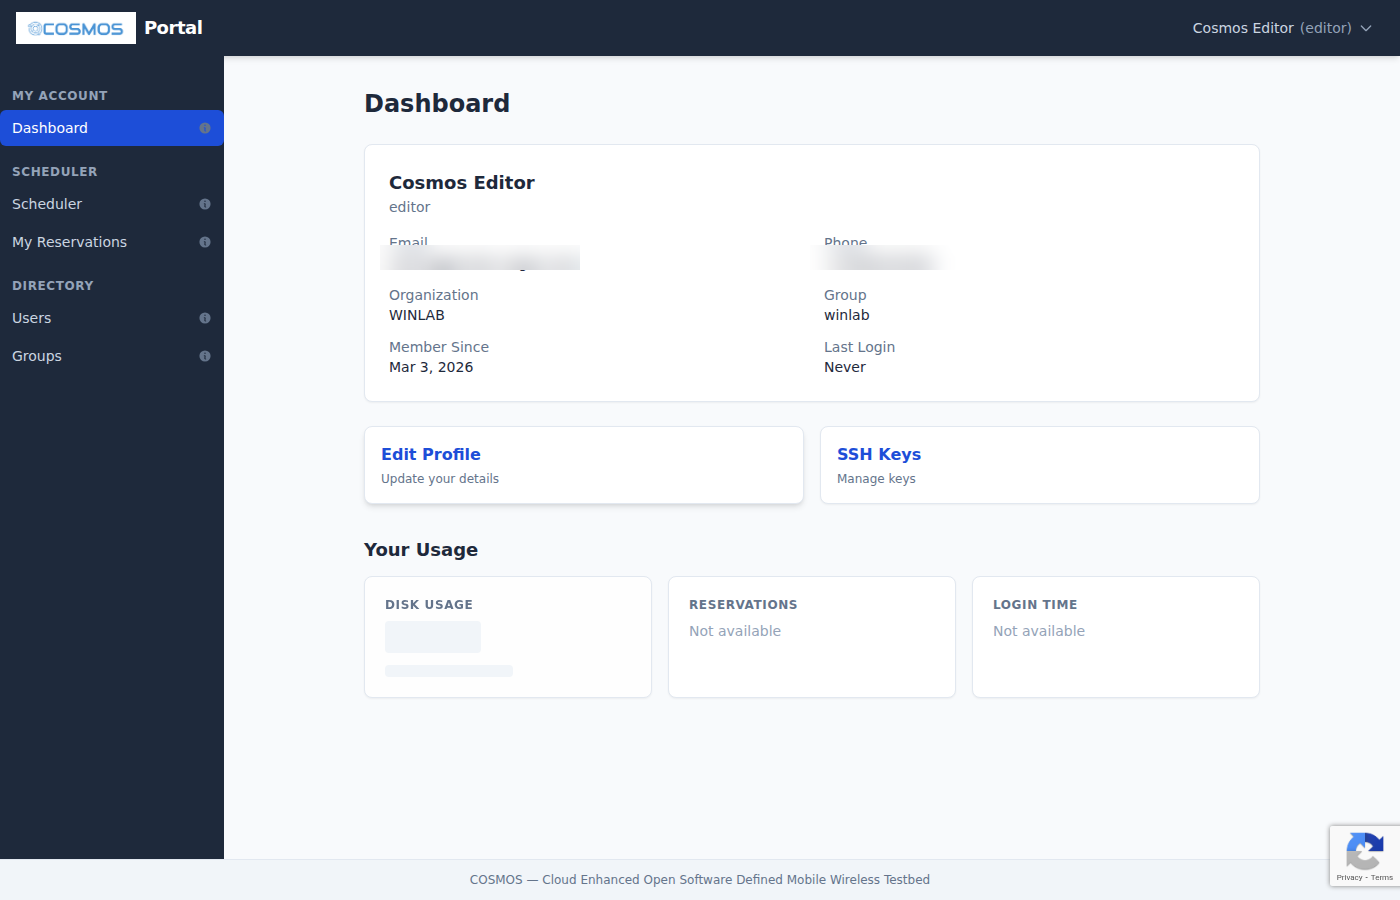
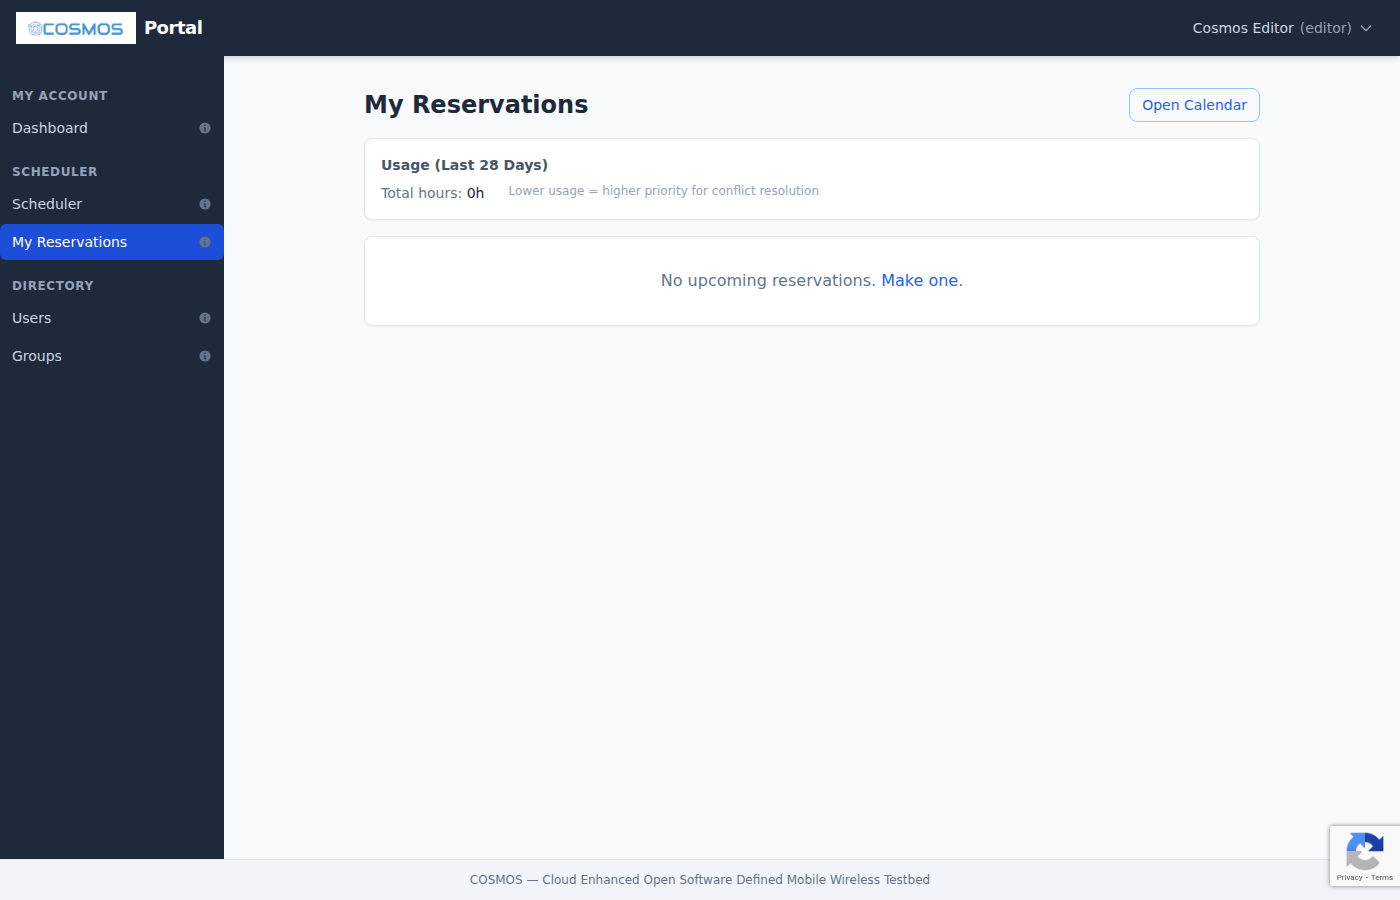
Once approved, your first login brings you to the Dashboard — a personal home page showing your profile, usage statistics (how much disk space you are using, how many reservations you have made, how much console time you have logged), and quick links to the most common actions. Directly below the Dashboard in the sidebar is the Community Forum link, which shows a notification badge when there are new discussions relevant to you.
Detailed guide: Getting Started with the COSMOS Portal
Setting Up Your Account
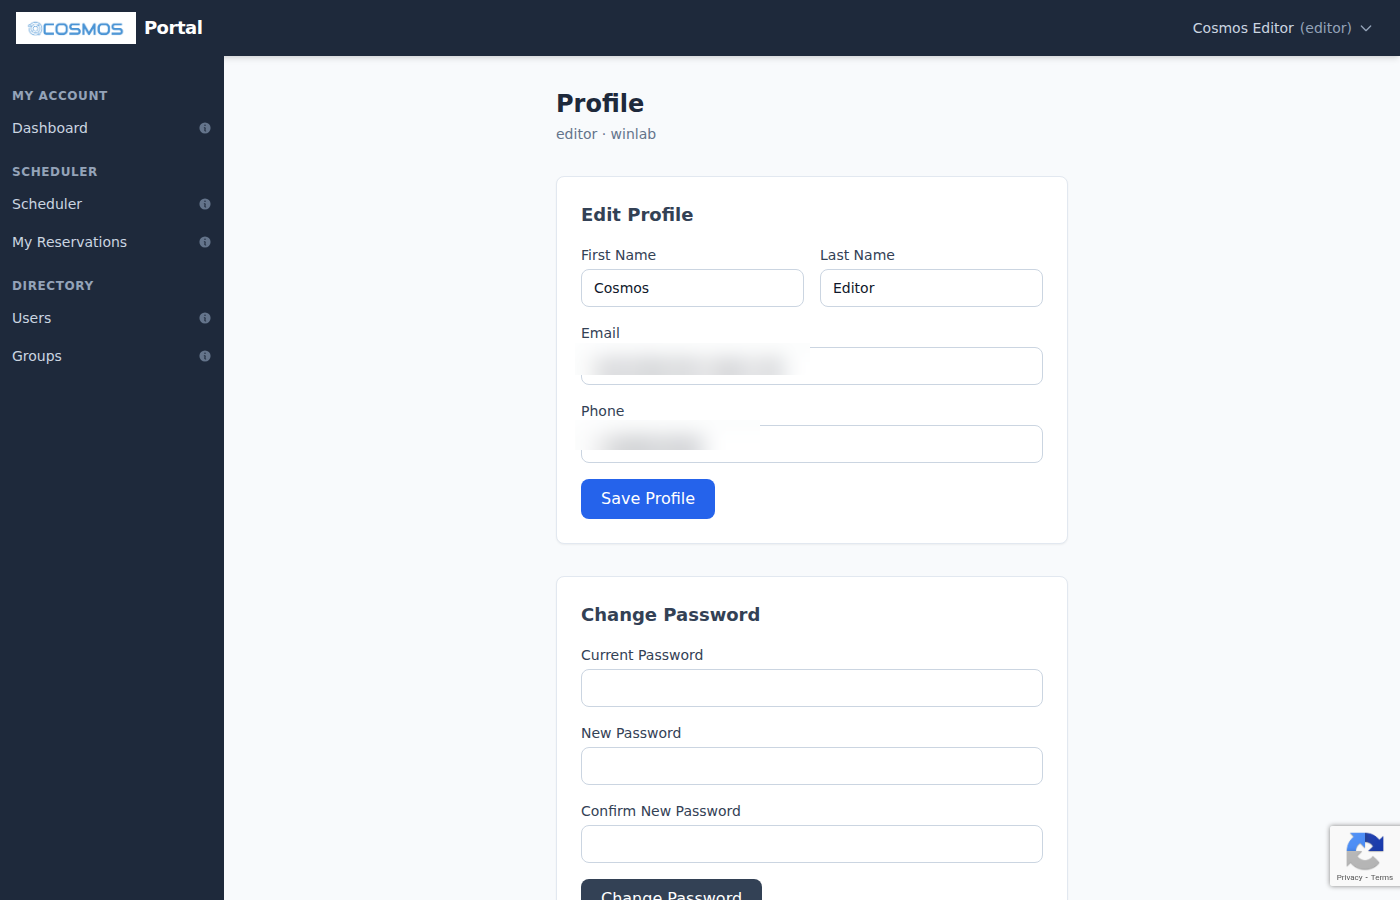
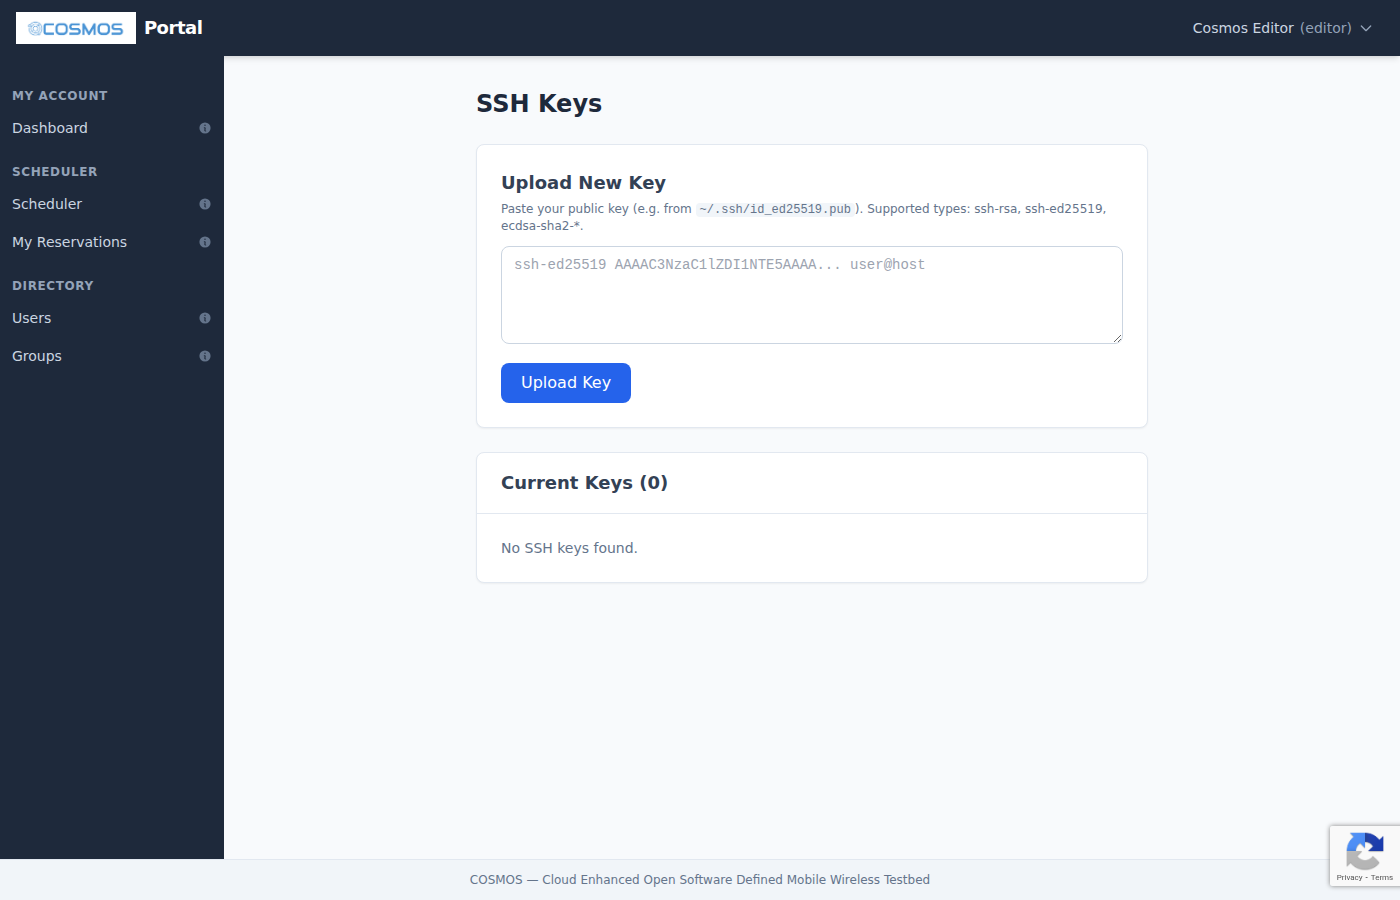
Before you can connect to testbed nodes, you need to upload at least one SSH public key through the portal. The Account Management page handles your profile, password, and SSH keys. The portal validates your key format and type in real time — it supports modern key types like Ed25519 and even FIDO/U2F hardware security keys, and it will reject private keys or malformed input immediately. You can upload multiple keys (one from your laptop, one from your desktop) so you can access the testbed from any of your machines.
The Account page also includes step-by-step instructions for generating SSH keys on Linux, macOS, and Windows, with links to comprehensive external guides for users who want to dive deeper.
Detailed guide: Account Management
Reserving Testbed Time
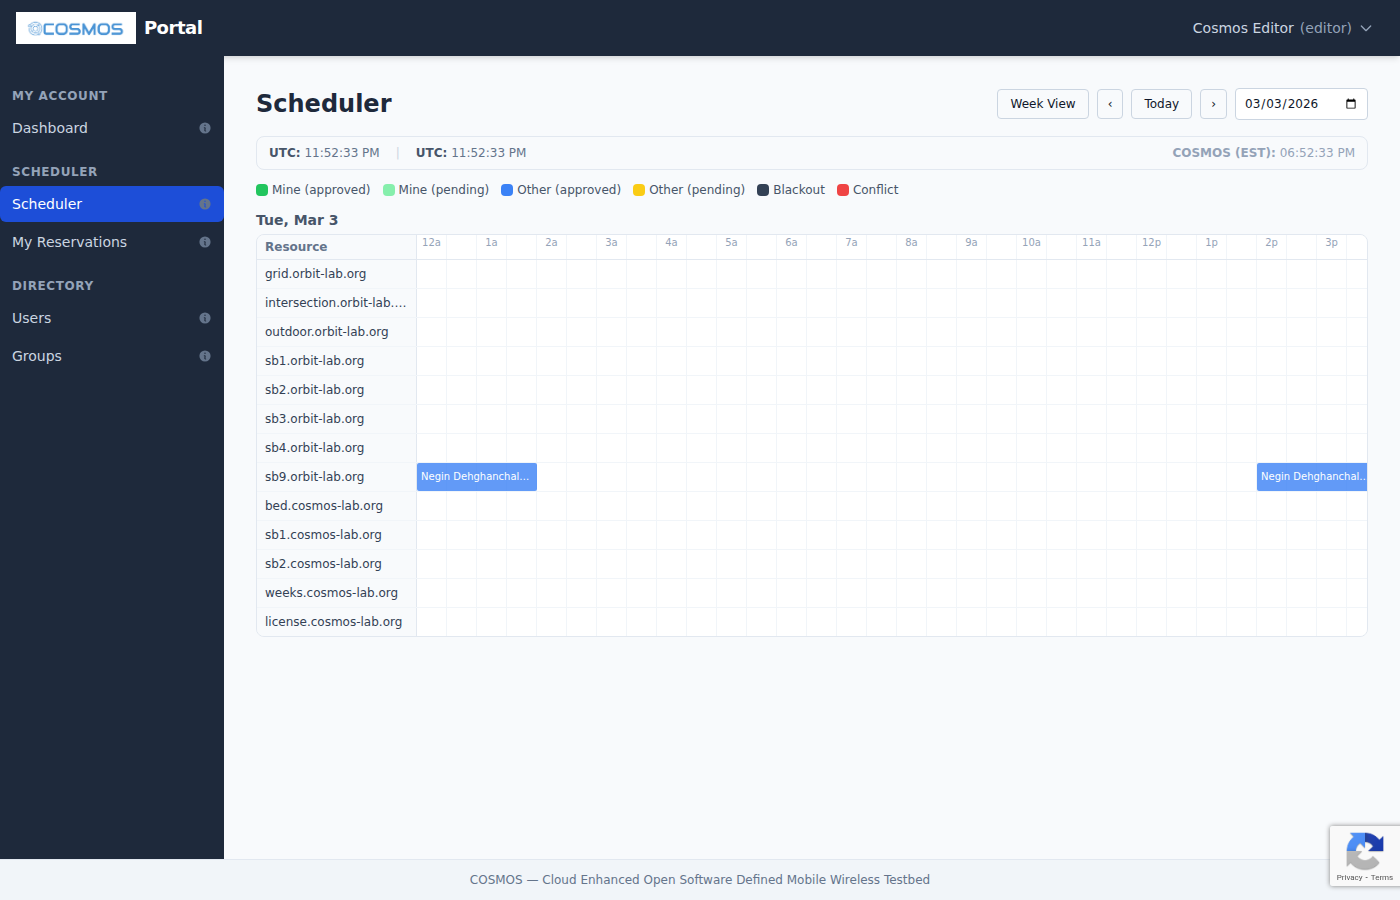
The Scheduler is a visual calendar where you reserve exclusive access to testbed domains and sandboxes. Each domain (like grid.orbit-lab.org with its 400 nodes, or sb1.cosmos-lab.org with its SDR equipment) is shown as a row, with 30-minute time slots arranged across the day. Color-coded blocks show which slots are available, which are taken, and which are yours.

Creating a reservation is as simple as clicking an empty slot and filling in the start and end times. You can invite collaborators to share your reservation, set up weekly or monthly recurring reservations for ongoing experiments, and even compete for contested time slots using a fairness algorithm that prioritizes users who have used the testbed less recently.
Reservations are approved automatically — requests submitted before noon are pre-approved for the next day by 2 PM, and other requests are approved just-in-time when the slot begins. There is no manual approval step in most cases.
Detailed guide: Scheduler
Monitoring Your Experiment
Once your reservation is active, Status pages appear in the sidebar showing real-time information about your testbed domain. The primary status page displays a visual grid of every node — color-coded green for powered on, dark for off, yellow for unreachable, and red for admin-down (taken offline for maintenance). The grid refreshes automatically every 30 seconds.
For SB4 sandbox reservations, a dedicated RF Matrix control page lets you interactively adjust the programmable RF attenuators between nodes, simulating different wireless distances and topologies for controlled experiments.
Detailed guide: Testbed Status
Connecting via SSH
With your reservation active and SSH keys in place, you connect to testbed nodes using a two-hop SSH model. Your connection goes first to a console server (jump host) using your portal username, then hops to individual nodes as root. The SSH Access guide covers the connection commands, how to configure your ~/.ssh/config for convenient access, SSH tunneling for web services and Jupyter notebooks, and file transfer with scp and rsync.
Detailed guide: SSH Access
Managing Disk Images
The Disk Images page lets you browse the complete image library — your own saved images, publicly shared images from other users, and the baseline images maintained by testbed administrators. You can search by name or description, sort by any column, toggle image visibility between public and private, and delete images you no longer need. Each image shows its name, owner, size, creation date, and a description of its contents.
Detailed guide: Disk Images
Joining the Community
The Community Forum is a discussion platform integrated directly into the portal. It opens in a popup window so you can keep it alongside the main portal while working. The forum uses single sign-on — if you are logged into the portal, you are automatically signed into the forum without any extra steps.
The forum is organized into categories like Getting Started, Experiments, SDR & RF, Troubleshooting, and Feature Requests. A notification badge on the sidebar tells you when new posts need your attention. The forum is internal to the COSMOS community — it is not publicly accessible and is not indexed by search engines.
Detailed guide: Community Forum
Browsing Users and Groups
The Directory lets you search and browse all registered users and organizations on the testbed. It is useful for finding collaborators, verifying group membership, and looking up an organization's PI. Both the user and group lists are searchable, sortable, and paginated.
Detailed guide: Directory
Tips
- Hover for help — each sidebar link has a small info icon with a tooltip describing the page
- Mobile friendly — the sidebar collapses into a hamburger menu on small screens
- Session persistence — if your session expires, the portal remembers your last page and returns you there after re-login
- Keyboard shortcuts — press Escape to close any dialog
For troubleshooting and additional help, see Support or ask on the Community Forum.
Attachments (7)
- portal-login.png (31.4 KB ) - added by 4 months ago.
- portal-register.png (83.4 KB ) - added by 4 months ago.
- portal-dashboard.png (68.4 KB ) - added by 4 months ago.
- portal-profile.png (49.8 KB ) - added by 4 months ago.
- portal-ssh-keys.png (64.7 KB ) - added by 4 months ago.
- portal-scheduler.png (93.3 KB ) - added by 4 months ago.
- portal-my-reservations.png (66.7 KB ) - added by 4 months ago.
Download all attachments as: .zip